This is my new DIY project. I have been making tents for last 5 years and I've tried different types. When I started backpacking I purchased a double wall, fully enclosed tent (so called ultralight tent; market crap). Most people don't really need these tents and they are not ultralight at all.
I switched to a tarp when I started thru-hiking and I fell in love with it's simplicity. Tarp is fantastic. I tried copying zpacks solo tents then. It is a great design.
This time I was looking for a larger tent that can fit my dog as well and it's not as miserable looking as a tarp (people think you are broken!). I always resisted the idea of using a pyramid tent but after a lot of thoughts I settled down with a pyramid tent and I must confess this design offers fantastic features. Here how I did it.

Materials:
I ordered all materials from: https://ripstopbytheroll.com/ but I have used https://www.questoutfitters.com/ in the past and I enjoyed doing business with both of them.
List:
- MEMBRANE Silpoly- 9 yards (this color was on sale and much cheaper)
Extra storm flap is the same material, different color, from a previous project.
- zipper coil and slider - #5- I ordered 8 feet but 7 feet was more than enough
- Thread (I used polyster, if you want something stronger use MARA 50 or use nylon thread)
-1.5 mm mini cord (1 is not enough, order 2)
- 1/8" Shock cord (could use mini cord but shock cord is better for the doors)
- Sil Net Silicone Seam Sealer
- Standard buckle (I had one from a previous project, any small buckle should do the work)
Procedure:
It's an easy project. There are more beautiful patterns but this one has almost zero waste and you can use the minimum amount of the fabric compared to a few other patterns I have seen. It's made of 8 similar pieces.


You can keep all edges straight (and it's easier to sew) but a cat cut on long edge will help to have a better tension. You can stack all pieces on top of each other and cut the cat curve. It's a little complicated since this is not a symmetric shape.

Start with sewing straight sides together. I use closed seams (sewing twice). This page can help you, but a single attachment works as well, it's just a personal preference and stronger seal.
https://www.thecuttingclass.com/sewing-seams-jonathan-saunders/

You will get 4 pieces, 3 identical and one with a zipper. In all of them I put a piece of cord near the center in such a way that there is a loop outside and two ends inside. Loop is used to tie somewhere for extra strength and more room, two ends inside are used for attachments like a bivy or doors.

I used double slider so I can open/close both from inside and outside. I also put the sliders on both ends so I can use a ventilator too. On zippered side I also attached two webbing loops, one inside and one outside. Inside one is used to attach stuff and the outside one is used for a setup without a pole, in case there is something to hang the tent.

There are many videos on how to sew a zipper.This one explains very similar method to mine (sewing twice):
And for installing the sliders:
I attached reinforcement on top of all 4 pieces.


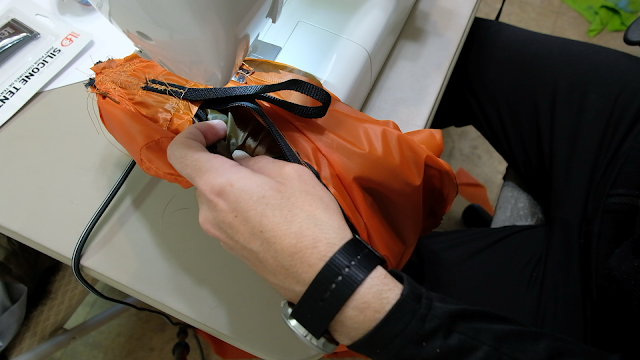
Finally sew all 4 pieces together and add reinforcements on all lower connections.


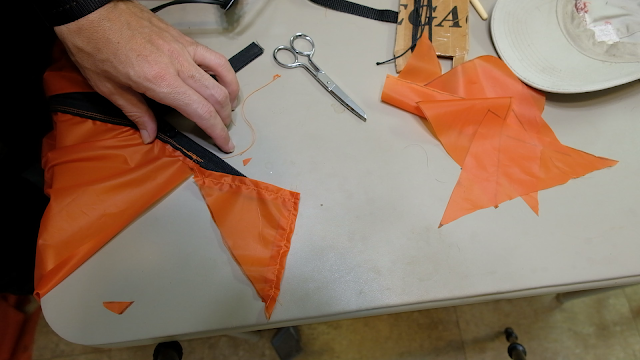
And attach the buckle to the zippered edge.

Hem the lower edge (I double hemmed).

Attach the Tensionlocks.


Before seam sealing, it's 15 oz:

And seam sealing:

And a filed test:

I use bivy (that's DIY as well). It seems Twyla confirms this tent!
There is tons of room inside this tent. It's comfortable for 2 and even 3 people or you and your fury friend or your bike.
Video:
Comments
Post a Comment